
Ceramic tile flooring has evolved far beyond basic white subway squares. Today’s homeowners are choosing ceramic for its combination of affordability, durability, and design flexibility, whether they’re tackling a full kitchen remodel or updating a single bathroom. With advances in manufacturing, ceramic tiles now mimic everything from natural stone to hardwood, while offering easier maintenance and lower material costs. This guide walks through practical ceramic tile flooring ideas, modern layout techniques, and room-specific applications that balance aesthetics with real-world performance. If you’re planning a tile project in 2026, understanding these options will help you make smarter material and design decisions before the first cut.
Key Takeaways
- Ceramic tile flooring offers an affordable middle ground between vinyl and natural stone, ranging from $0.50 to $15 per square foot, with strong performance in moderate-traffic residential areas when rated Class III or IV.
- Modern ceramic tile patterns like herringbone and large format tiles (15+ inches) create contemporary aesthetics, though larger formats require better subfloor preparation and leveling to prevent telegraphing lippage.
- Kitchen ceramic tile flooring performs best with glazed, textured finishes for slip resistance, and wood-look planks installed in offset running bond or herringbone patterns deliver a durable hardwood look without maintenance demands.
- Bathroom installations demand waterproofing membranes, smaller tiles or textured surfaces for slip resistance, and proper slope toward drains; epoxy grout resists mold and staining better than standard cement-based options in wet areas.
- Proper subfloor preparation, including cement backer board and self-leveling underlayment, is critical to prevent tile failure, while expansion joints every 12-16 feet allow for material movement and reduce cracking.
Why Ceramic Tile Flooring Remains a Top Choice for Homeowners
Ceramic tile continues to dominate residential flooring for several reasons rooted in performance and cost-effectiveness. Unlike porcelain, which requires higher firing temperatures and denser clay, ceramic tile is made from red or white clay fired at lower temperatures, making it less expensive per square foot. Expect to pay $0.50 to $15 per square foot for materials, depending on finish and size, though regional pricing and tile grade will shift those numbers.
From a durability standpoint, ceramic holds up well in moderate-traffic areas. It’s rated by the Porcelain Enamel Institute (PEI) for wear resistance, with Class III and IV tiles suitable for most residential floors. While not as impact-resistant as porcelain, ceramic performs well when properly installed over a stable substrate like cement backer board or mortar bed. Grout and tile movement from subfloor deflection cause most failures, not the tile itself.
Maintenance is straightforward. Glazed ceramic resists stains and moisture better than many alternatives, though grout lines require periodic sealing with a penetrating sealer to prevent discoloration. For homeowners concerned about home renovation cost guides, ceramic offers a cost-effective middle ground between vinyl and natural stone, with installation difficulty manageable for experienced DIYers who own a wet saw and understand lippage control.
Ceramic also handles moisture better than laminate or engineered wood, making it code-compliant for wet areas when installed with proper waterproofing membranes. That versatility, combined with the sheer range of colors, textures, and sizes available, explains why ceramic remains a go-to flooring material in 2026.
Modern Ceramic Tile Patterns and Layouts
Layout choice dramatically affects how a room reads visually. The same 12×24-inch ceramic plank can look traditional in a straight stack bond or contemporary in a herringbone. Planning layout before purchase helps you calculate waste factors and decide if a more complex pattern justifies the extra material and labor.
Herringbone and Chevron Arrangements
Herringbone and chevron layouts create movement and visual interest, especially with rectangular tiles. The difference: herringbone uses tiles cut at 90-degree ends and laid at 45-degree angles to each other, while chevron requires tiles cut at an angle (typically 45 degrees) so the ends meet in a continuous zigzag.
Herringbone is easier for DIYers because it doesn’t demand precision angle cuts on every tile, just careful alignment. Use 6×24-inch or 8×32-inch planks for a pronounced pattern. Expect 10-15% waste due to edge cuts and layout complexity. A laser level or chalk lines every few rows keep the pattern from drifting.
Chevron delivers a sharper, more modern look but adds cutting time. Most tile saws handle 45-degree miters, but a wet saw with an adjustable table works better than a snap cutter for consistent angles. Both patterns work well in narrow spaces like hallways or galley kitchens, where they add width visually.
Both layouts require more thin-set and grout due to increased linear footage of joints. Budget an extra 20-30 minutes per 10 square feet compared to standard running bond.
Large Format Tiles for a Sleek Look
Large format ceramic tiles, anything 15 inches or larger on one side, minimize grout lines and create a seamless, contemporary aesthetic. Common sizes include 24×24 inches, 12×24 inches, and 24×48 inches. Fewer grout lines mean less maintenance and a cleaner visual plane, which works well in open-concept spaces or small bathrooms where you want to reduce visual clutter.
Installing large format tiles demands better subfloor prep. Deflection in a plywood subfloor transfers directly to the tile, and a larger tile telegraphs lippage more visibly. The International Residential Code (IRC) recommends maximum deflection of L/360 for tile floors, meaning a 10-foot span shouldn’t flex more than 0.33 inches under load. Add a layer of 1/2-inch cement backer board over 3/4-inch plywood, screwed every 8 inches, to stiffen the assembly.
Use a 1/2-inch notched trowel and back-butter each tile to ensure 95% coverage, per TCNA (Tile Council of North America) standards. Lippage spacers or leveling clips help keep adjacent tiles flush during cure. A 48-inch level is your best friend here, check every tile before the thin-set skins over.
Large format tiles also highlight subfloor imperfections. Self-leveling underlayment is often necessary if the slab or subfloor varies more than 1/4 inch over 10 feet. That’s an extra step and cost, but skipping it leads to cracked tiles or hollow spots that eventually fail.
Ceramic Tile Ideas for Different Rooms
Choosing ceramic tile by room means matching performance specs to the space’s demands, moisture levels, traffic patterns, and how much abuse the floor will take.
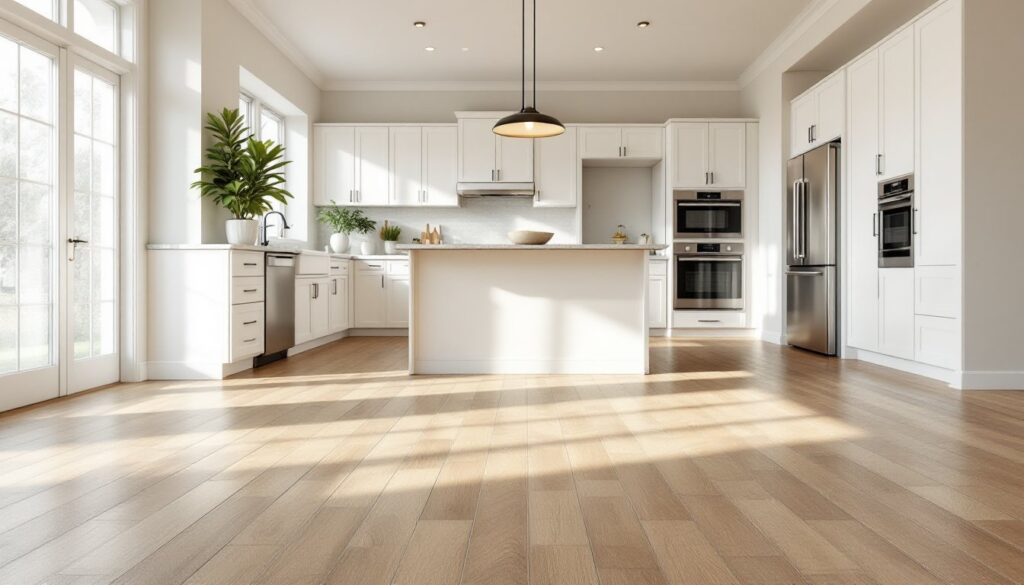
Kitchen Flooring That Balances Style and Durability
Kitchens demand Class III or IV ceramic tile rated for heavy residential traffic. Glazed ceramic handles spills and splashes well, but textured or matte finishes offer better slip resistance than high-gloss tiles, especially near sinks and dishwashers.
Wood-look ceramic planks (6×36 inches or 8×48 inches) are popular in 2026 because they mimic hardwood grain without the maintenance. Install them in a 1/3 offset running bond or herringbone for a craftsman vibe. Pair them with unsanded grout for joints 1/8 inch or smaller, or sanded grout for wider joints. Unsanded grout is less likely to scratch the glaze during cleanup.
For a bold statement, consider encaustic-look ceramic tiles with geometric or Moroccan patterns. These work well as accent zones, think in front of the stove or sink, bordered by neutral field tiles. Mixing tile types adds labor (more cuts, transition strips), but it breaks up large kitchen floors visually.
Don’t forget expansion joints. The TCNA recommends expansion joints every 12-16 feet and at transitions to different flooring materials. Use a color-matched silicone or urethane caulk, not grout, in these joints to allow movement. For kitchen remodel inspiration, browsing image galleries helps visualize how different tile sizes and layouts perform in real spaces.
Safety note: Wear knee pads, safety glasses, and a dust mask when cutting tile. Wet saws throw slurry, and silica dust from dry cutting is a respiratory hazard.
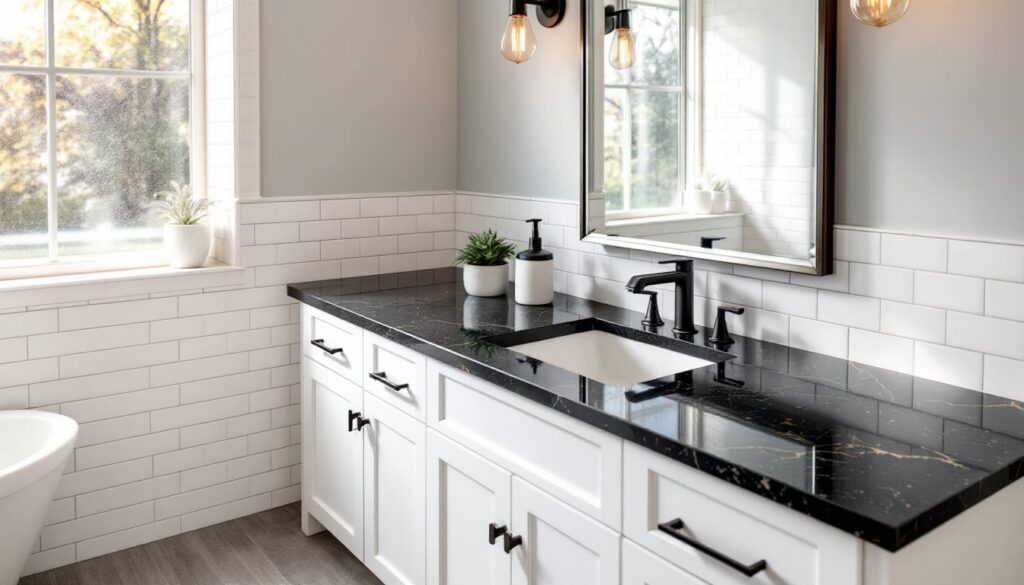
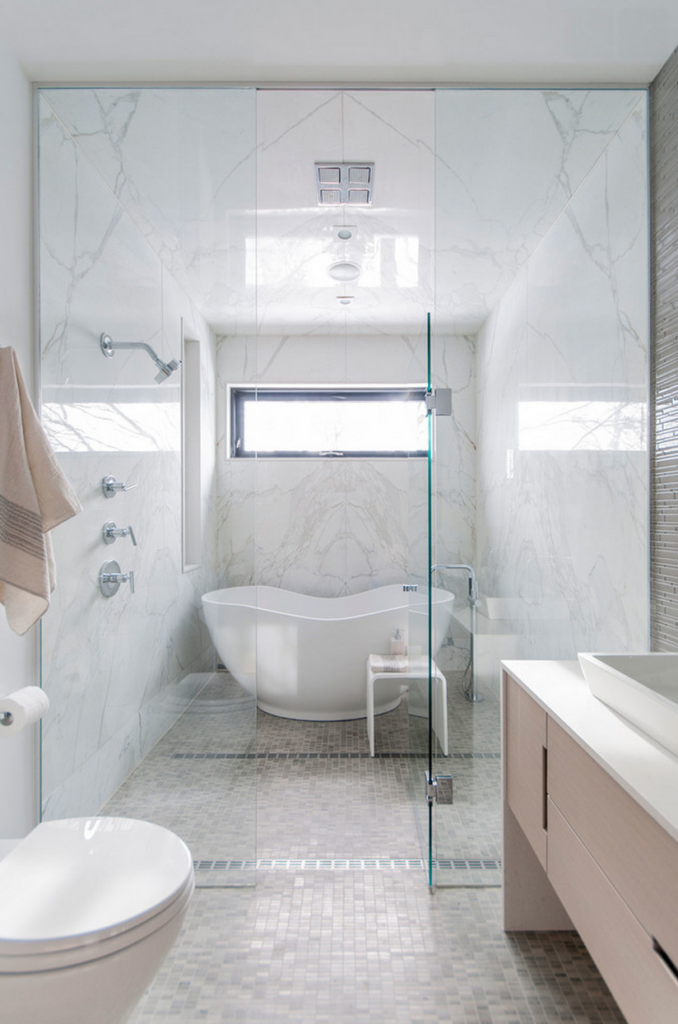
Bathroom Ceramic Tile Designs
Bathrooms combine high moisture and smaller square footage, making ceramic tile an ideal choice, but installation details matter more here than in any other room. Waterproofing membranes (sheet or liquid-applied) on the substrate are non-negotiable, especially in shower curbs, tub surrounds, and around toilets. The IRC and most local codes require waterproofing in wet areas.
Smaller tiles (2×2-inch mosaics, 4×4-inch squares, or hexagons) offer better slip resistance due to the increased grout line frequency, which adds texture underfoot. They’re also easier to slope toward a drain if you’re tiling a curbless shower floor. Standard slope is 1/4 inch per foot toward the drain.
Subway tiles (3×6 inches or 4×8 inches) remain a versatile bathroom option. Install them in a classic 1/2 offset running bond, vertical stack bond, or herringbone on walls to add character. Ceramic subway tiles cost significantly less than porcelain or natural stone versions, often $1-4 per square foot, and they’re easier to cut for outlets and fixtures.
For a spa-like aesthetic, mix matte and glossy finishes or combine ceramic floor tile with a textured ceramic wall tile in the shower. Just ensure all tiles share similar thickness to simplify transitions and grout joints.
Grout color influences the overall look. Light grout (white, bone, light gray) blends with lighter tiles for a seamless appearance, while dark grout (charcoal, black) creates contrast and hides staining better over time. Epoxy grout is worth considering in showers, it resists mold and staining better than cement-based grout and doesn’t require sealing, though it’s harder to work with and costs more.
Finally, plan your cuts. Bathroom floors often have odd angles, toilet flanges, and vanity toe kicks. A wet saw with a sliding table handles most cuts, but a tile nipper or angle grinder with a diamond blade is necessary for notching around pipes and flanges. Dry-fit the entire layout before mixing thin-set to catch measurement errors early.
If you’re new to tile work, bathrooms are a manageable first project due to their size, but don’t rush the prep. For additional design sourcebooks and product guides, exploring curated collections can help narrow down finish and color choices before you commit to materials.