
A dedicated coffee bar table transforms the daily caffeine ritual from a rushed chore into a purposeful moment. Whether working with a sprawling kitchen counter or a tight studio apartment corner, a well-planned coffee station consolidates equipment, organizes supplies, and creates a focal point that feels both functional and intentional. The right setup eliminates the clutter of scattered mugs, grinders, and half-empty syrup bottles, replacing chaos with a streamlined workspace that actually makes morning coffee more enjoyable. Here’s how to design, build, or adapt a coffee bar table that fits the space, budget, and brewing habits.
Table of Contents
ToggleKey Takeaways
- A dedicated coffee bar table consolidates equipment, eliminates clutter, and transforms your morning routine into a streamlined, intentional ritual that saves time daily.
- Coffee bar table ideas range from space-efficient floating shelves and rolling carts to rustic farmhouse designs and modern minimalist cabinets, making them adaptable to any kitchen size or aesthetic.
- Floating shelves require heavy-duty brackets secured to wall studs with ¾-inch plywood, while rolling carts with metal frames and locking casters offer flexible, moisture-resistant solutions for tight spaces.
- Farmhouse coffee bars leverage reclaimed wood, galvanized pipe shelving, and pegboards to create cohesive industrial-rustic designs finished with tung oil or matte polyurethane.
- DIY coffee bar table projects like simple console tables and butcher block cart conversions can be completed in one weekend using basic tools and pocket-hole joinery techniques.
- Minimalist coffee bar setups prioritize hidden storage with wall-mounted cabinets, recessed outlets, and under-cabinet LED lighting to maintain visual calm and clean design lines.
Why Every Coffee Lover Needs a Dedicated Coffee Bar Table
A designated coffee bar table serves three critical functions: organization, workflow efficiency, and aesthetic cohesion. Functionally, it consolidates equipment, espresso machines, pour-over setups, grinders, milk frothers, into a single zone instead of scattering them across countertops or stashing them in cabinets. This reduces setup time and keeps daily brewing gear accessible without occupying prime prep space.
From a workflow perspective, the bar creates a logical sequence: beans → grinder → brewer → finishing (milk, sugar, stirring). This mirrors professional café layouts, where efficiency dictates spatial planning. A well-arranged station can shave minutes off the morning routine, which compounds over weeks.
Aesthetically, a coffee bar table anchors a room. It signals intentionality, this isn’t just appliances on a counter, it’s a curated space. Whether the style leans industrial, farmhouse, or minimalist, the station becomes a design element rather than a functional afterthought. And unlike purely decorative pieces, it earns its footprint through daily use.
Practically, the setup protects surfaces. Coffee gear, especially espresso machines with their heat, moisture, and occasional splatter, can damage wood counters or leave permanent rings. A dedicated table (ideally finished with polyurethane or sealed with a food-safe oil) contains the wear to one sacrificial surface.
Compact Coffee Bar Table Ideas for Small Spaces
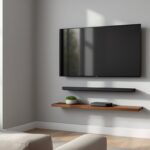
Floating Shelf Coffee Stations
Floating shelves offer vertical storage without consuming floor area, a critical advantage in tight kitchens or studio apartments. Install two or three shelves at 12–18 inches apart to accommodate varying equipment heights. The bottom shelf should sit at counter height (36 inches from the floor) for comfortable operation.
Use ¾-inch plywood or solid wood planks backed by heavy-duty brackets rated for at least 50 pounds per pair. Coffee equipment is deceptively heavy: a fully loaded espresso machine can exceed 20 pounds, and bags of beans add up quickly. Standard hollow-wall anchors won’t suffice, locate wall studs and fasten directly with 3-inch wood screws.
Keep electrical access in mind. If the wall lacks outlets at the right height, surface-mount a power strip to the underside of the top shelf, routing the cord down through a discreet cable channel. This beats drilling into walls or running extension cords across open floor space.
Rolling Cart Solutions
A rolling utility cart (the kind with two or three tiers) solves the space problem differently: it’s a coffee bar when needed and wheels out of the way when it’s not. Look for carts with locking casters to prevent drift during use, unlocked wheels and a working espresso machine don’t mix well.
Metal carts handle moisture and heat better than wood or particleboard. Powder-coated steel resists rust and cleans easily after spills. Aim for a top shelf width of at least 24 inches to accommodate standard drip makers or espresso machines without overhanging the edge.
Add a small cutting board or butcher block to the top surface for a warmer aesthetic and a heat-resistant work area. Secure it with non-slip pads or corner brackets to prevent sliding. Use the lower tiers for mugs, beans, filters, and backup supplies. If the cart feels top-heavy with equipment loaded, add weight to the bottom shelf, a couple of bags of beans or a small bin of tools will stabilize it.
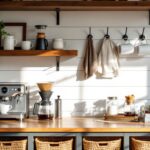
Farmhouse and Rustic Coffee Bar Table Designs
Farmhouse coffee bars lean into reclaimed wood, open shelving, and visible joinery. The aesthetic pairs well with vintage or semi-industrial equipment, manual espresso levers, stovetop percolators, ceramic pour-over cones.
Start with a console table or repurposed sideboard in the 48–60 inch range. Reclaimed barn wood or rough-sawn pine delivers the weathered look, but verify the wood is dry and stable before building. Green lumber will warp as it acclimates indoors. If sourcing salvaged material, inspect for nails, staples, or embedded hardware that could damage saw blades, run a metal detector over boards before cutting.
Finish with tung oil or a matte polyurethane to preserve the natural grain while protecting against water rings and coffee stains. Avoid high-gloss finishes, they clash with the rustic vibe and show every fingerprint.
For added storage, mount galvanized pipe shelving above the table. Use ¾-inch black iron pipe for the uprights and shelf supports, flanged to the wall studs with floor flanges and 2½-inch screws. This approach, common in woodworking project plans, delivers an industrial-farmhouse hybrid that feels cohesive with subway tile backsplashes or shiplap walls.
Incorporate hooks or a pegboard panel for hanging mugs, measuring spoons, and small utensils. Pegboard (typically ¼-inch tempered hardboard) mounts easily to wall studs or can be framed out with 1×2 furring strips to create the necessary gap for peg insertion. Paint it to match the wall or stain it to coordinate with the wood tones.
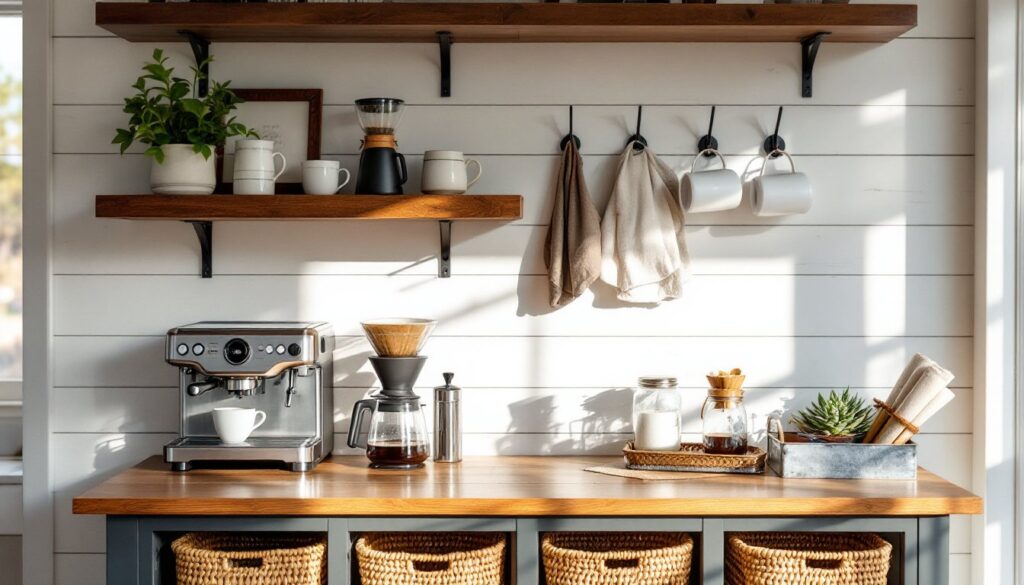
Modern and Minimalist Coffee Bar Setups
Minimalist coffee bars prioritize clean lines, concealed storage, and restrained palettes, usually whites, grays, blacks, or natural wood in lighter tones. The goal is visual calm, which means hiding clutter and emphasizing negative space.
A wall-mounted cabinet with flip-down or sliding doors keeps equipment out of sight when not in use. IKEA and similar manufacturers offer modular cabinets in this format, but custom builds allow precise sizing. Use ¾-inch maple or birch plywood for cabinet boxes, finished with white or gray paint and soft-close hinges. Interior shelves should adjust on shelf pins to accommodate varying equipment heights.
For countertops or the working surface, consider butcher block, quartz composite, or solid surface material (like Corian). These deliver durability and easy cleaning without the visual weight of darker granite or busy tile. Keep the surface depth to 18–24 inches to maintain the slender profile typical of modern design.
Electrical should be invisible. Recess an outlet box into the wall behind the station or run power through a cord management raceway painted to match the wall. Exposed cords disrupt the minimalist aesthetic faster than anything else.
Lighting matters in modern setups. Under-cabinet LED strip lights (in neutral white, 3000–4000K) provide task illumination without adding visual clutter. Hardwire them to a wall switch or use plug-in versions with a low-profile inline dimmer. Avoid RGB or color-changing LEDs, they read gimmicky in a restrained design.
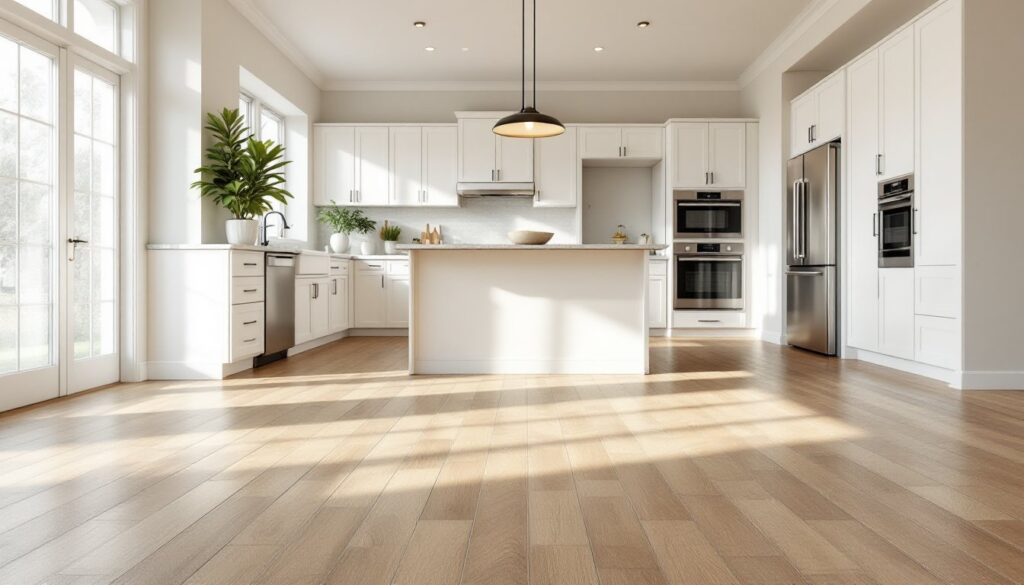
For those interested in exploring various kitchen design ideas, integrating a minimalist coffee bar often complements broader kitchen aesthetics, especially in contemporary renovations.
DIY Coffee Bar Table Projects You Can Build This Weekend
Building a custom coffee bar table allows exact sizing and finish customization, and it’s more straightforward than most assume. Two solid weekend projects follow.
Project 1: Simple Console Table from Dimensional Lumber
Materials:
- Four 2×4s at 8 feet (legs and stretchers)
- One 1×12 pine board at 6 feet (top)
- Wood glue, 2½-inch pocket screws, sandpaper (80, 120, 220 grit), finish of choice
Tools:
- Miter saw or circular saw, drill, Kreg Jig (or similar pocket-hole jig), clamps, orbital sander
- Cut four legs to 34 inches from the 2×4s (actual dimensions: 1½ × 3½ inches). This yields a finished height of roughly 36 inches after adding the top.
- Cut four stretchers: two at 48 inches (long sides), two at 9 inches (short sides).
- Assemble the base frame using pocket screws at each joint. Pre-drill with the Kreg Jig set for 1½-inch material. Apply wood glue, clamp, then drive screws.
- Attach legs to the inside corners of the frame, again using pocket screws from the stretchers into the legs.
- Sand all surfaces, progressing from 80 to 220 grit.
- Finish the 1×12 top (actual width: 11¼ inches, length cut to 60 inches) with stain and polyurethane or paint. Let dry fully.
- Attach the top to the base frame with 1¼-inch wood screws driven from underneath through the stretchers. No visible fasteners.
This design, similar to those found in simple coffee bar plans, takes about 6–8 hours including dry time for finish.
Project 2: Butcher Block Cart Conversion
Purchase a ready-made rolling cart (metal frame, 24 × 18 inches or larger). Replace the top shelf with a custom-cut butcher block from a home center (usually available in 25 × 18-inch or 36 × 25-inch slabs).
- Measure the cart’s top frame and mark cut lines on the butcher block. Use a circular saw with a fine-tooth blade (60+ teeth) for clean edges. A miter saw works if the block fits, but most slabs exceed typical miter saw capacities.
- Sand edges smooth with 120-grit paper.
- Finish with food-safe mineral oil or beeswax blend. Apply liberally, let soak 20 minutes, wipe excess. Repeat monthly.
- Fasten the block to the cart frame using L-brackets from underneath, or simply rest it in place if the fit is snug.
- Add S-hooks to the cart sides for mugs or utensils.
Total time: 2–3 hours plus oil cure time.
Safety Notes: Wear safety glasses when cutting, and use a dust mask when sanding, especially with pressure-treated or exotic woods. Ensure the workspace is well-ventilated when applying oil-based finishes. Keep a fire extinguisher nearby: oil-soaked rags can spontaneously combust if wadded up. Lay them flat to dry or submerge in water in a sealed metal can before disposal.