
A covered entryway does more than keep rain off your welcome mat. It’s the bridge between curb appeal and comfort, offering shelter, boosting home value, and defining your home’s personality before anyone steps inside. Whether you’re dealing with a cramped front stoop or a sprawling wrap-around porch, the right overhead structure makes the entrance functional and inviting. This guide walks through proven designs, material choices, and DIY-friendly options that suit different budgets, climates, and skill levels, no fluff, just what works.
Table of Contents
ToggleKey Takeaways
- A well-designed covered entryway can add 5–10% to perceived home value while protecting your door from water damage and weather exposure.
- Covered entryway ideas range from classic gabled porch roofs and modern pergolas to budget-friendly canopy awnings under $200, each suited to different styles and skill levels.
- Proper material selection is critical: wet climates demand rot-resistant lumber and metal roofing, hot climates benefit from heat-reflective aluminum or light-colored materials, and high-wind zones require hurricane ties and reinforced fastening.
- At least a 3:12 roof pitch and professional-grade flashing where the roof meets the house wall are essential to prevent water intrusion and costly interior damage.
- DIY-friendly options like timber-frame porches or fabric awnings can be completed for $500–$800, but always check local building codes and frost line depth before installing posts.
Why a Covered Entryway Matters for Your Home
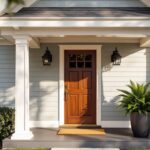
A roof over your front door protects more than people. It shields your door finish, reduces water intrusion at the threshold, and creates a transition zone where guests can shake off umbrellas or wipe their feet without tracking weather indoors.
From a resale perspective, a well-designed covered entry can add 5–10% to perceived home value, especially in regions with heavy rain or intense sun. It signals maintenance and curb appeal to buyers before they reach the doorbell.
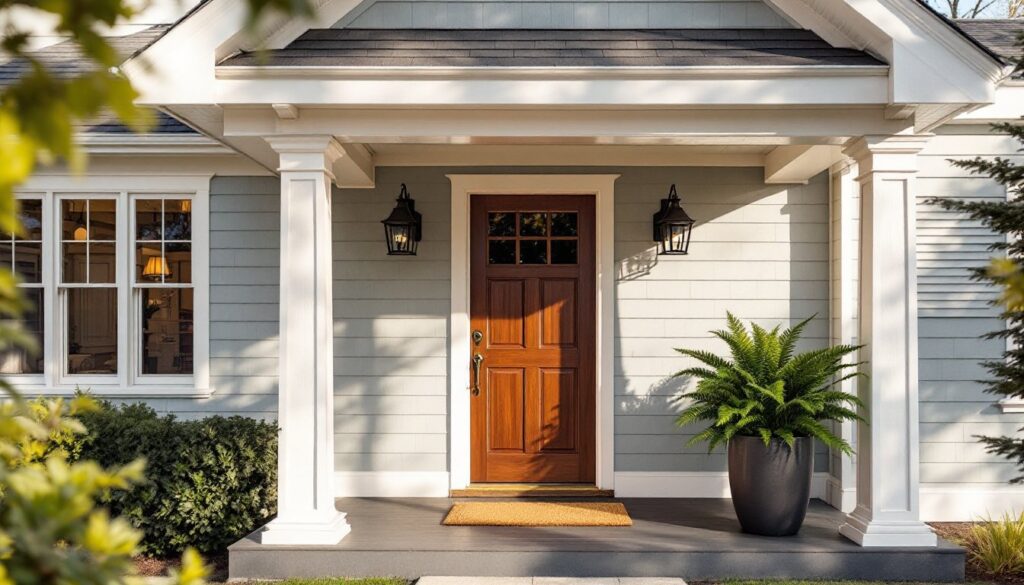
Beyond function, a covered entryway defines architectural style. A gabled porch roof reinforces traditional or farmhouse aesthetics, while a flat canopy with steel brackets leans modern. It’s one of the few upgrades that serves daily utility and long-term investment at the same time.
Safety note: Any structure attached to your home’s framing may require a building permit, especially if it involves posts set in concrete footings or ledger boards lag-bolted to wall studs. Check local codes before breaking ground.
Classic Porch Roof Designs That Never Go Out of Style
Gabled porch roofs are the workhorse of covered entries. Two sloped planes meet at a ridge, shedding water efficiently and offering generous headroom. They work with nearly any home style, Colonial, Craftsman, or ranch, and allow ventilation through gable-end vents. Framing involves rafters or trusses spanning from a ledger board (attached to the house) to a beam supported by posts. Expect to use 2×6 or 2×8 rafters on 16″ centers for most residential spans under 10 feet.
Shed roofs slope in one direction, typically away from the house. They’re simpler to frame than gables and suit modern or mid-century exteriors. A shed roof attached to the house uses a ledger board and relies on posts at the outer edge to support a header beam. Pitch matters: aim for at least a 3:12 slope (3 inches of rise per 12 inches of run) to ensure proper drainage.
Hip roofs slope on all four sides, creating a compact, elegant profile. They’re more complex to frame but excel in high-wind areas because the geometry distributes loads evenly. Hip roofs shine on homes with existing hip-roof architecture, maintaining visual continuity. Framing requires hip rafters and jack rafters, so this design is better suited for experienced builders or professional installation.
All three styles demand proper flashing where the roof meets the house wall. Use metal step flashing integrated with the siding or a continuous headwall flashing to prevent water from wicking behind sheathing.
Modern Pergola and Trellis Entryway Solutions
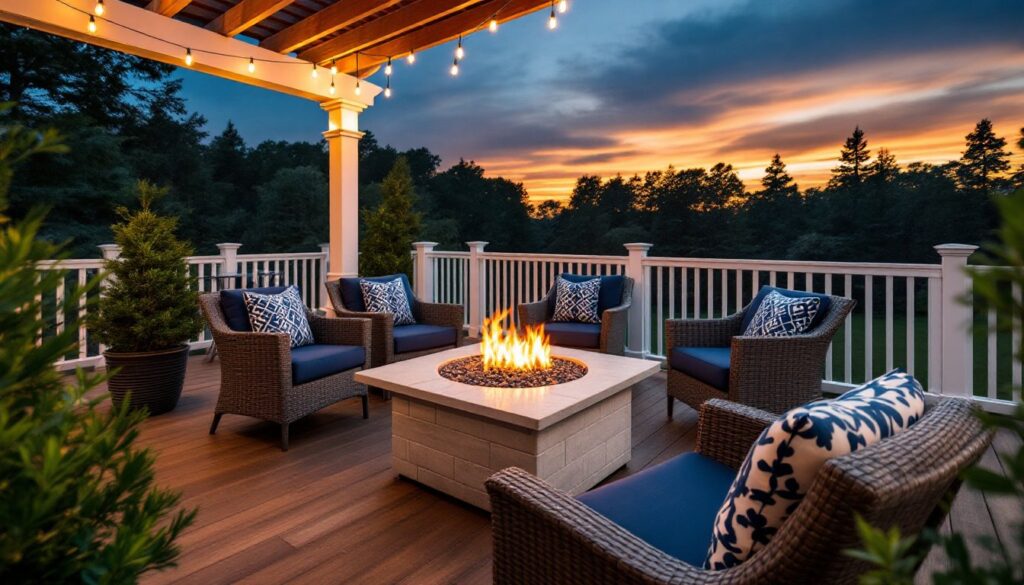
Pergolas offer partial coverage and strong visual impact without the permitting headaches of a fully enclosed roof. Horizontal slats (often 2×6 or 2×8 boards spaced 12–18″ apart) rest on beams supported by posts, filtering sunlight and creating defined overhead space. They work especially well in dry climates or when paired with climbing vines for seasonal shade.
For weather protection, pair a pergola with polycarbonate panels or clear corrugated roofing laid across the slats. Polycarbonate is UV-resistant, lightweight, and available in varying opacities. It fastens with specialized screws and foam closure strips to prevent leaks. This hybrid approach lets homeowners enjoy the open feel of a pergola with functional rain coverage.
Metal trellises with powder-coated steel or aluminum frames suit contemporary homes. They’re typically pre-fabricated, bolt directly to concrete pads or deck surfaces, and require minimal framing knowledge. Many designs incorporate integrated lighting channels or cable-ready pathways for low-voltage fixtures.
Keep in mind that pergolas and open trellises won’t satisfy building codes as habitable space, so they’re rarely classified as structural additions. That said, footings for posts still matter, dig below the frost line (varies by region, often 36–48″ in cold climates) and pour concrete to prevent heaving.
Budget-Friendly DIY Covered Entry Options
A simple canopy awning made from exterior-grade plywood and metal brackets delivers coverage for under $200 in materials. Build a rectangular frame from 2×4s, sheath it with ½” plywood, apply roofing felt and shingles (or metal panels), then mount it to the house with galvanized lag bolts into wall studs. Use L-brackets or decorative steel braces at the outer corners for support. Size it to extend at least 3 feet beyond the door to keep rain off the threshold.
Fabric awnings are even more affordable and come in retractable or fixed styles. Fixed awnings bolt to a ledger board and use aluminum or steel arms for tension. They’re ideal for sun protection but less effective in snow-load regions. Choose solution-dyed acrylic fabric, it resists fading and mildew better than vinyl.
For a rustic, low-cost solution, a timber-frame porch using rough-sawn lumber and exposed joinery can be built for around $500–$800, depending on size. This approach relies on traditional post-and-beam construction, often with mortise-and-tenon or half-lap joints secured with timber screws or pegs. It’s labor-intensive but forgiving for beginners and delivers character that painted trim can’t match.
Pro tip: Salvage yards and habitat ReStores often stock cedar or redwood beams, metal roofing panels, and architectural columns at a fraction of retail cost. Inspect for rot, insect damage, and structural integrity before hauling it home.
Material Selection: Choosing the Right Cover for Your Climate
In wet climates (Pacific Northwest, Southeast), prioritize water-shedding materials and rot-resistant framing. Use pressure-treated lumber (rated for ground contact if setting posts) or naturally durable species like cedar, redwood, or tropical hardwoods. For roofing, standing-seam metal outlasts asphalt shingles and handles heavy rain without moss buildup. Apply a waterproof membrane under any roofing material and ensure at least a 4:12 pitch for reliable drainage. Homeowners in these regions often incorporate design elements inspired by Southern porch traditions, which emphasize deep overhangs and ventilated spaces.
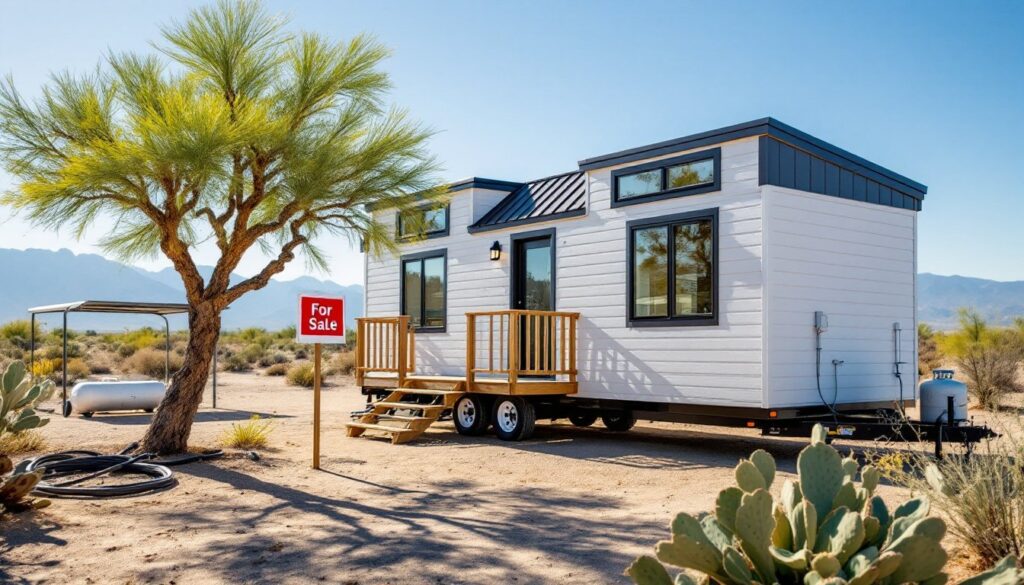
Hot, arid climates benefit from materials that reflect heat and resist UV degradation. Aluminum or vinyl pergola kits won’t warp or crack under intense sun. For solid roofing, choose light-colored metal or clay tiles, which reflect solar radiation better than dark asphalt. Consider adding a ceiling fan rated for damp locations to improve airflow under the cover.
Cold climates with freeze-thaw cycles demand materials that handle expansion and contraction. Composite decking materials used as pergola slats won’t splinter or rot, and metal fasteners should be stainless steel or hot-dipped galvanized to resist corrosion from road salt. Avoid vinyl soffits in extreme cold, they can become brittle and crack.
High-wind zones (coastal areas, tornado alleys) require structural fasteners rated for uplift loads. Use hurricane ties to connect rafters to beams, and through-bolt posts to concrete footings with embedded J-bolts or post bases. Metal roofing should be fastened every 12″ along purlins, and shingles need six nails per shingle instead of the standard four.
Adding Style with Lighting, Plants, and Finishing Touches
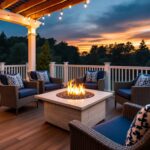
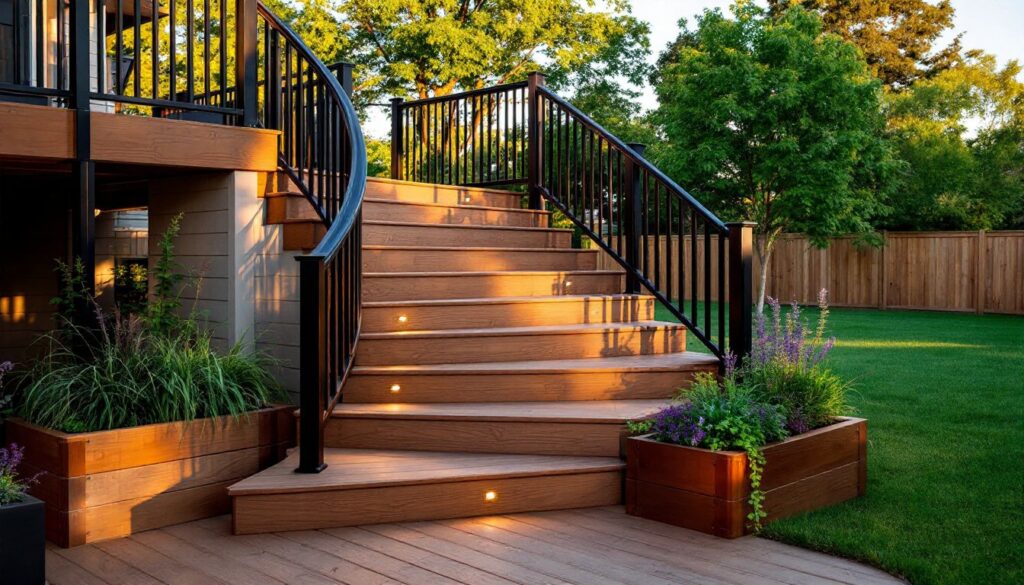
Lighting transforms a covered entry from functional to welcoming. Ceiling-mounted fixtures should be wet-rated (for open pergolas) or damp-rated (for enclosed roofs). Pendant lights work well with higher ceilings (8 feet or more), while flush-mount or semi-flush designs suit tighter clearances. For a layered effect, add low-voltage accent lights along posts or under the roofline on a dimmer switch.
Run electrical in weatherproof conduit (rigid metal or PVC) if surface-mounted, or fish UF-B cable (underground feeder, suitable for wet locations) through wall cavities if you’re tying into interior circuits. All outdoor outlets and switches must be GFCI-protected per NEC requirements.
Climbing plants soften hard edges and provide seasonal interest. Clematis, wisteria, and climbing roses thrive on pergola structures but need regular pruning to prevent structural load from dense growth. Install galvanized wire or cable trellises tensioned between posts if the overhead structure isn’t designed to bear heavy vines.
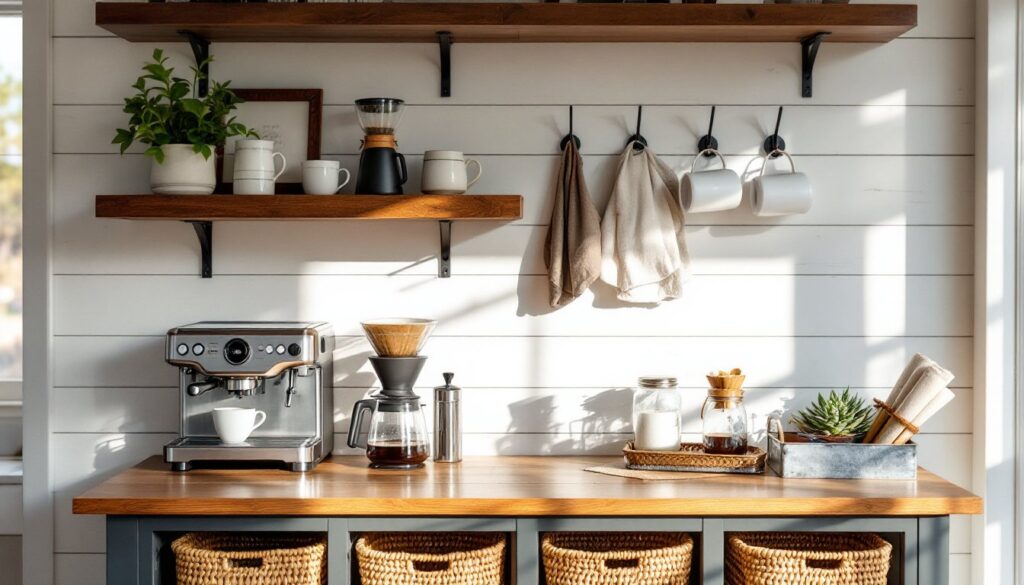
For modern design inspiration, consider integrating planters directly into post bases or using sleek metal brackets for hanging baskets. This approach maintains clean lines while adding greenery.
Finishing details matter. Paint or stain all wood surfaces with exterior-grade products, solid stain offers better UV protection than semi-transparent, but it requires more frequent maintenance. Seal end grain on all cuts with a dedicated end-grain sealer to prevent moisture intrusion. Add a house number plaque or personalized door mat to complete the look without cluttering the space. Many homeowners draw ideas from contemporary decor trends that emphasize minimalism and functional beauty.
Safety reminder: Always wear safety glasses when cutting lumber, and use hearing protection with power saws. If working overhead, secure ladders on level ground and consider a work platform for extended tasks.
Conclusion
A covered entryway blends utility with curb appeal, protecting your threshold and setting the tone for your home. Whether framing a classic gabled porch or installing a budget-friendly canopy, success comes down to solid planning, climate-appropriate materials, and attention to fastening details. Measure twice, check local codes, and don’t skip the flashing, your front door will thank you.