
Setting up a home theater isn’t just about the screen anymore. The right sound system can turn a movie night into an experience that rivals commercial theaters, explosions that rattle the couch, dialogue crisp enough to catch every whispered line, and spatial audio that places you inside the action. But between soundbars, surround sound setups, and premium Atmos configurations, choosing the best system for your space can feel overwhelming. The good news? There’s a solid option for every budget and room size. This guide breaks down what actually matters in home theater audio, compares the most popular configurations, and walks through the practical decisions that’ll help you pick, and install, the right system without overcomplicating the process.
Table of Contents
ToggleKey Takeaways
- A great sound system for home theater requires three core qualities: clarity for dialogue without constant volume adjustment, immersion through proper speaker placement and surround channels, and clean bass power delivered by a quality subwoofer.
- Soundbar systems offer simplicity and are ideal for small to medium rooms (up to 300 sq ft), while 5.1 and 7.1 surround sound setups remain the gold standard for true immersion and work best in dedicated viewing rooms.
- Atmos and object-based audio formats create three-dimensional sound with height channels, but require ceiling installation and Atmos-compatible content to justify the $1,200–$5,000+ investment.
- Proper room acoustics, including area rugs, curtains, and acoustic panels, can dramatically improve sound quality at no electronics cost by reducing echoes and tightening bass response.
- Match your sound system configuration to room size and shape: small rooms need soundbars or compact systems, medium rooms benefit from full 5.1 or 7.1 setups, and large spaces demand more power and dual subwoofers.
- Professional-grade auto-calibration using your AVR’s built-in measurement mic, followed by critical listening adjustments to center channel and subwoofer levels, can turn ‘good’ sound into ‘great’ sound regardless of budget.
What Makes a Great Home Theater Sound System?
A great home theater sound system delivers three core qualities: clarity, immersion, and power. Clarity means you can hear dialogue without cranking the volume during quiet scenes, then switching back when action kicks in. Immersion comes from proper channel separation, sounds originating from the correct direction, whether that’s a helicopter overhead or footsteps behind you. Power isn’t just about volume: it’s about clean bass that you feel in your chest without distortion.
Most systems include a combination of speakers (front left/right, center, surrounds, and sometimes height channels) and a subwoofer for low-frequency effects. The center channel handles dialogue and is arguably the most critical speaker in the setup. Surrounds create the sense of space, while the subwoofer covers everything below 80-120 Hz, the rumble, explosions, and deep musical notes.
You’ll also need an AV receiver (AVR) for most multi-speaker setups. This is the brain of your system, decoding surround sound formats like Dolby Digital, DTS, and Atmos, then routing audio to the correct speakers. Look for receivers with at least HDMI 2.1 support if you’re running 4K or 8K sources, and make sure it has enough channels for your configuration (a 5.1 system needs a 5-channel receiver, a 7.1 needs seven, and Atmos setups often require 9 or more).
Frequency response matters more than flashy specs. A speaker rated 50 Hz–20 kHz will deliver fuller sound than one starting at 100 Hz. Sensitivity (measured in dB) tells you how loud a speaker gets with a given amount of power, higher sensitivity (90+ dB) means you can drive it with a modest AVR. Impedance (typically 4, 6, or 8 ohms) affects compatibility: most receivers handle 8-ohm speakers easily, but 4-ohm models may require a beefier amp.
Finally, room acoustics shape the sound as much as the gear. Hardwood floors, bare walls, and vaulted ceilings create echoes and muddy dialogue. Adding area rugs, curtains, or acoustic panels, even bookshelves, can tame reflections and tighten bass response without spending a dime on electronics.
Top Sound System Configurations for Every Budget
Soundbar Systems: Simplicity Meets Quality
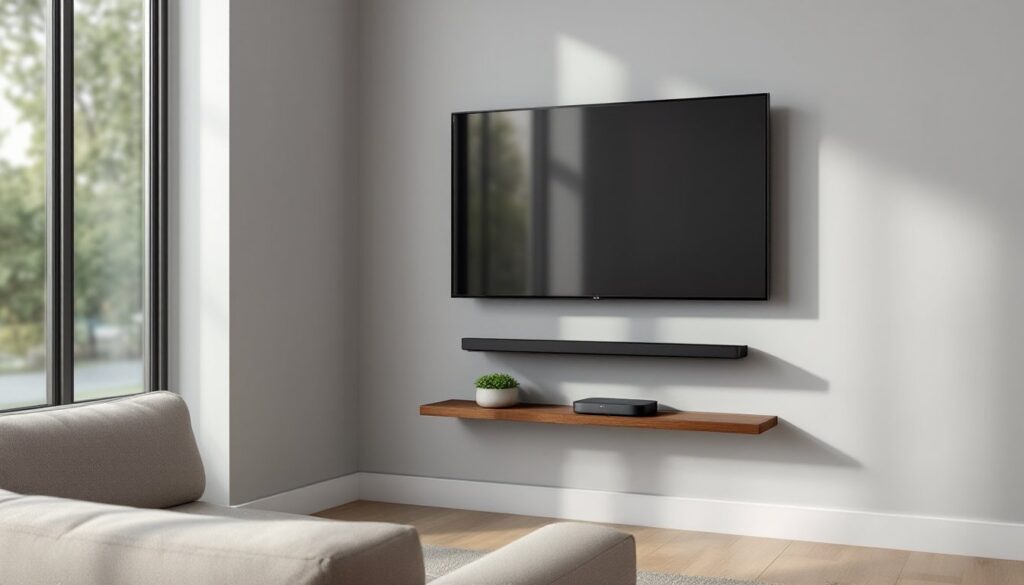
Soundbars pack multiple drivers into a single cabinet, often paired with a wireless subwoofer. They’re the easiest install: one HDMI cable (using ARC or eARC) connects the soundbar to your TV, and you’re done. Many models now support Dolby Atmos by bouncing sound off the ceiling to simulate height channels.
A quality soundbar runs $300–$800. Budget picks like the Vizio M-Series offer solid dialogue clarity and virtual surround, while mid-tier models from Sonos or Samsung add true Atmos processing and better bass extension. Premium bars, think Bose Smart Ultra or Sony HT-A7000, approach $1,000 but include multiple upfiring drivers and room calibration.
Soundbars work best in small to medium rooms (up to 300 sq ft) with standard ceiling heights. If your room is large or has vaulted ceilings above 10 feet, the upfiring Atmos effect weakens. They’re also not ideal if you’re sitting far off-axis: the sweet spot shrinks compared to discrete speakers.
One cable, one remote, and you’re watching movies. If simplicity and a clean look trump ultimate immersion, a soundbar is tough to beat.
5.1 and 7.1 Surround Sound: The Immersive Standard
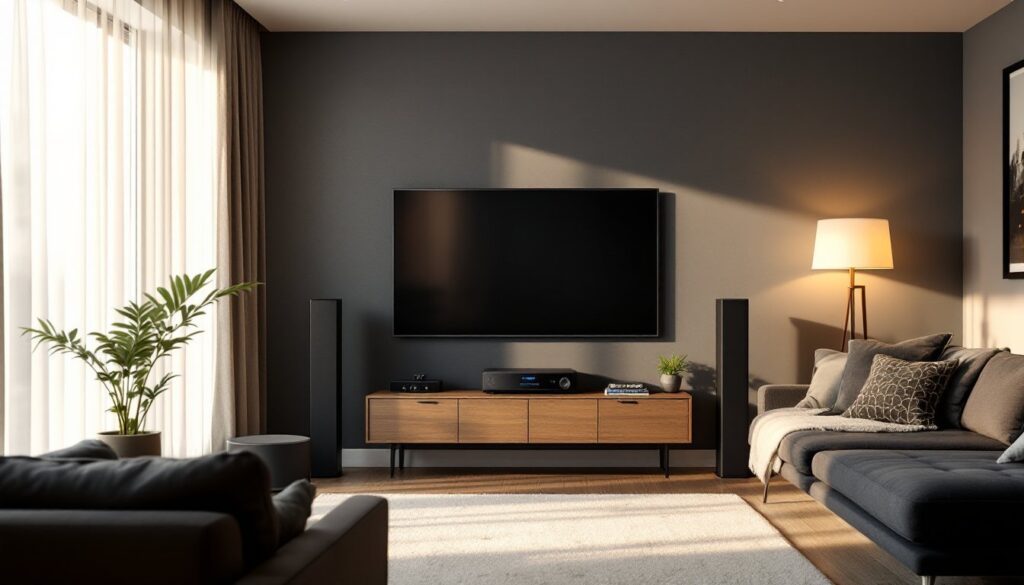
A 5.1 system uses five speakers, front left, center, right, and two surrounds, plus a subwoofer. A 7.1 setup adds two rear surrounds for deeper immersion. These are the workhorses of home theater: they’ve been the industry standard since the DVD era and still deliver excellent results with modern Blu-ray and streaming content.
Budget for $600–$2,500 depending on speaker quality and whether you buy a packaged system or piece together separates. Entry-level packages (Onkyo, Yamaha, or Klipsch bundles) start around $600 and include an AVR. Upgrading to better tower speakers for the fronts and a 10- or 12-inch subwoofer pushes total cost toward $1,500–$2,000. High-end separates, say, KEF or ELAC bookshelf speakers with an SVS or REL subwoofer, can exceed $3,000.
Installing discrete speakers means running speaker wire from the AVR to each position. Front speakers flank the TV at ear height when seated. The center sits directly above or below the screen. Surrounds go to the sides or slightly behind the listening position, mounted at or just above ear level. Rears (in 7.1) go behind you, a few feet apart.
According to expert reviews on home theater configurations, 5.1 and 7.1 systems remain the gold standard for those seeking true surround immersion without the complexity of object-based audio. Wire management is the biggest challenge. In-wall or on-wall cable raceways keep things tidy if you can’t fish wires through walls. If you’re finishing a basement or doing a remodel, now’s the time to pull wire before drywall goes up.
Who should go 5.1 or 7.1? Anyone with a dedicated viewing room, the patience to run wire, and a desire for true surround sound that doesn’t rely on DSP trickery.
Atmos and Object-Based Audio: Premium Theater Experience
Dolby Atmos and DTS:X are object-based formats that add height channels, placing sounds in a three-dimensional space rather than fixed channels. Helicopters fly overhead, rain falls from above, and you’re not just surrounded, you’re enveloped.
Atmos configurations start at 5.1.2 (five main channels, one sub, two height speakers) and scale up to 7.2.4, 9.2.4, or beyond in dedicated home theaters. Height channels can be ceiling-mounted in-ceiling speakers (best) or upfiring modules that sit atop your front or surround speakers and bounce sound off the ceiling (decent if the ceiling is flat and 8–10 feet high).
Budget $1,200–$5,000+. A modest 5.1.2 setup using upfiring modules and a mid-tier AVR (Denon, Marantz, or Yamaha with Atmos support) runs $1,200–$2,000. Going 7.2.4 with in-ceiling speakers, quality tower fronts, and a flagship receiver pushes past $4,000. Add high-performance subs and premium speakers, and the ceiling (pun intended) is high.
Many of the best home theater systems tested in 2026 now include Atmos support out of the box, reflecting how mainstream the format has become. The payoff is real if the content supports it. Streaming services like Netflix, Disney+, and Apple TV+ offer Atmos tracks on many titles, and 4K Blu-rays are loaded with immersive mixes. Without Atmos content, you’re just running a standard 5.1 or 7.1 signal.
Installing ceiling speakers means cutting drywall and fishing wire, doable for a confident DIYer, but messy. Use a stud finder, mark your cuts carefully, and plan wire runs before you commit. Most in-ceiling models are 8-inch two-way designs that mount in standard 16-inch on-center joist bays. Use a drywall saw or rotary tool for clean cuts, and always wear safety glasses.
Is Atmos worth it? If you watch a lot of modern content, have the budget, and don’t mind the install complexity, absolutely. If you’re upgrading from a soundbar or basic 5.1, the leap is dramatic.
How to Choose the Right System for Your Space
Start with room size and shape. Small rooms (under 200 sq ft) do fine with a soundbar or compact 5.1 system. Medium rooms (200–400 sq ft) benefit from a full 5.1 or 7.1 setup with a capable subwoofer. Large or open-concept spaces (400+ sq ft) demand more power and possibly dual subwoofers to evenly distribute bass.
Ceiling height matters for Atmos. Flat ceilings between 8 and 10 feet work best for upfiring speakers. Vaulted, sloped, or textured ceilings scatter sound and kill the effect, stick with in-ceiling speakers if you’re committed to Atmos in that scenario.
Consider your furniture layout. If your couch is against the back wall, placing rear surrounds is tough: a 5.1 setup may be more practical than 7.1. If you have open sightlines and flexible furniture, you can optimize speaker placement more easily.
Budget honestly. A $600 soundbar will outperform a $600 “home theater in a box” with tinny satellite speakers. If your budget is tight, invest in a quality 3.1 system (left, center, right, sub) now and add surrounds later. Incremental upgrades beat compromising across the board.
Think about sources and connectivity. If you stream everything, your TV’s apps and a simple HDMI ARC connection suffice. If you have a Blu-ray player, game console, and streaming box, you need an AVR with enough HDMI inputs (four minimum, six is safer). HDMI 2.1 is a must for 4K 120 Hz gaming or 8K passthrough.
Finally, be realistic about installation. Soundbars require almost no tools. A 5.1 system needs a wire stripper, drill, and stud finder at minimum. Atmos with in-ceiling speakers means drywall work. If cutting into your ceiling makes you nervous, hire an installer or choose upfiring modules.
Don’t ignore aesthetics. Tower speakers dominate a room visually: if a minimalist look is important, in-wall or on-wall speakers (or a soundbar) keep things clean. Black or white finishes blend better than wood veneers in modern decor.
Installation Tips for DIY Home Theater Enthusiasts
Safety first: Turn off power at the breaker if you’re drilling near electrical wiring. Wear safety glasses when cutting drywall or drilling overhead. Use a stud finder with AC wire detection to avoid hidden surprises.
For speaker placement, follow the reference guidelines: front left and right at equal distance from the TV, angled slightly toward the seating area. The center channel should be as close to ear height as possible, if it must go below the TV, angle it upward. Surrounds in a 5.1 setup go 90–110 degrees from center, slightly above ear level. In 7.1, side surrounds stay at 90 degrees, rears at 135–150 degrees.
Use 16-gauge speaker wire for runs under 50 feet: upgrade to 14-gauge for longer distances or higher-power systems. Strip about half an inch of insulation, twist the strands tight, and secure connections with banana plugs or bare wire into binding posts. Mark polarity (positive/negative) on both ends with tape or a marker to keep phase consistent.
Calibrate your system after physical installation. Most AVRs include an auto-calibration microphone (Audyssey, YPAO, Dirac, etc.). Place the mic at ear height in your primary seating position and let the receiver measure distances, levels, and crossover points. Run the process in a quiet room, HVAC and traffic noise skew results.
Many recommendations for surround sound setups emphasize proper calibration as the difference between “good” and “great” sound, regardless of how much you spent on gear. After auto-cal, listen critically. If dialogue sounds thin, bump the center channel +1 or +2 dB. If bass is boomy, lower the subwoofer level or try moving it away from corners. If surround effects feel weak, increase rear speaker levels slightly.
For in-ceiling Atmos speakers, use a drywall template (often included with the speaker) to mark your cutout. Drill a small pilot hole first and fish a bent coat hanger through to check for obstructions. Cut carefully with a drywall saw, then fish wire from the AVR location using a flex bit or fish tape. Secure speakers with the included mounting clamps, they grip the backside of the drywall as you tighten screws.
Cable management keeps the install looking clean. Use adhesive cable clips along baseboards, or invest in in-wall rated (CL2 or CL3) wire and fish it through walls. If walls are finished and you’re not comfortable cutting, flat speaker wire can tuck under carpet edges or hide behind crown molding.
Test one speaker at a time using the AVR’s test tone function. Verify each channel is connected to the correct terminal and that sound is clear without crackling. If a speaker is silent, check polarity and connection tightness.
Finally, give the system a real-world test. Queue up a movie with a robust Atmos or surround mix, Mad Max: Fury Road, Blade Runner 2049, or Dune are reliable benchmarks. Listen for dialogue clarity, smooth pans across channels, and tight, controlled bass. If something sounds off, resist the urge to tweak every setting at once. Change one variable, listen, and adjust from there. Most “bad sound” issues trace back to speaker placement or calibration, not the gear itself.